Saturday, 11 April 2015

RASAM VADA / RASSA VADA

A South Indian appetizer made of fried lentil balls soaked in a tangy soup of tamarind and tomatoes.

This recipe can be divided into two steps.
The  first is the preparation of the RASAM/SOUP  and the second is the preparation of  the VADAS.


 STEP I                                      
                                                                RASAM


INGREDIENTS

2 tbsp toovar dal/pigeon peas
2-3 medium sized ripe tomatoes
a small lemon sized ball of tamarind

2-3 cloves of garlic crushed finely
1/2-1 tsp red chilli powder
1/2 tsp haldi/turmeric powder
1/2 tsp hing powder/ asafoetida

1tsp jeera/cumin seeds
1 tsp pepper
Grind the pepper and jeera to fine powder

Jeera and pepper powder

Salt to taste
1 -2 tbsp coriander leaves

METHOD.


  • Boil the dal till it is very soft and keep aside.
    Boiled daal
  • In about 300 ml water, add chopped tomatoes and tamarind and boil till the tomatoes become soft.
  • Mash the tomatoes well and filter the mixture.
    Tomato and Tamarind Paste
    Filtered Mixture
  • Add a litre of water to the filtered mixture.
  • Add mashed daal, crushed garlic, curry leaves, haldi, chilli powder,hing and salt and boil well on medium flame.
  • Reduce the flame and add the jeera and pepper powder
  • Bring to a light boiling point and remove from the stove
  • Add chopped coriander leaves .
  • Temper with mustard , jeera and hing and cover the vessel with a lid
    Tempering for the Rasam
THE RASAM IS NOW READY : )     

                                                                                                                    
STEP II
                                                        VADA
INGREDIENTS

1 cup udad dal/ black gram daal
1/2 tsp pepper corns 
salt to taste
a few bits of fresh coconut( optional)
Oil for deep frying

 METHOD


  • Soak the daal for 3-4 hrs.
    Soaked Udada dal
  • Drain the water and grind to a fine smooth paste adding very little water. (Approx less than 3/4 cup.)
  • Grind on a slow speed adding water little at a time .
  • The paste will be light and fluffy.
    Ground Dal
  • Keep aside for 15-20 mins.
  • Add salt , pepper, coconut pieces and mix well.
    Ready To Be Fried
  • Heat oil in a deep pan /kadai .
  • Drop the paste into the oil in the form of small balls
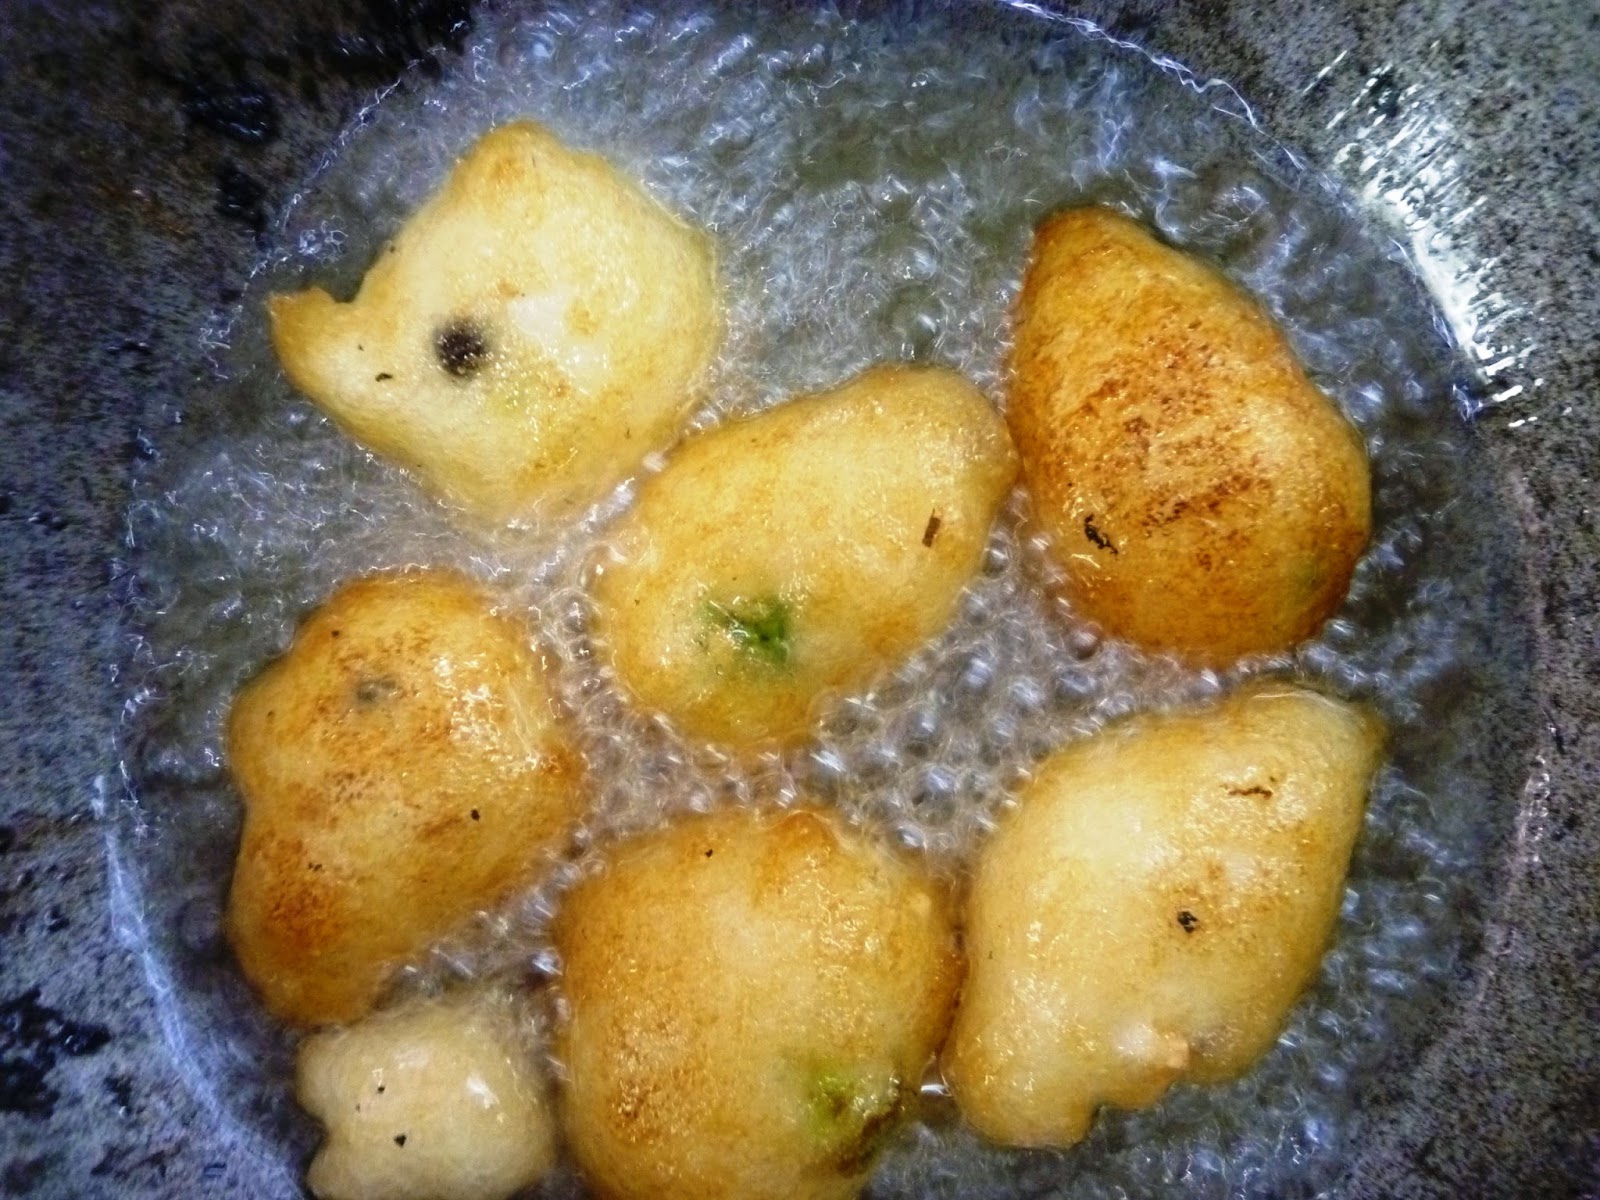
  • Fry to a golden yellow colour .
    Ready For The Rasam (Or Straight into The Mouth)
  • Now drop them into the hot rasam and allow to soak for about 15-20 mins.
    Rasam Vada
  • Serve hot.


ENJOY THE SPICY AND TANGY RASAM VADAS !!! 

 
 POINTS TO REMEMBER

While grinding the dal grind at the lowest speed and add very little water . (Just enough to run the mixer/grinder..
Add water little by little .
The vadaas can be fried immediately also, but  I find that when the paste is set aside for some time, the  vadas turn out crispy and light.
A few chopped curry leaves and finely chopped ginger can be added to the vada batter.

WARNING :)
The crucial stage is saving the vadas before they get soaked in the rasam (from hungry mouths hovering around the fried vadas.)


Wednesday, 8 April 2015

JUST PLAIN DAAL

This is a favourite in my home.
A plain bland daal to go with steamed rice.
This is the simplest form of daal that I make . Very easy to make and very tasty

INGREDIENTS

1/2 cup toovar daal / pigeon peas
1 1/2 -2 tbsp ghee/clarified butter
1 tsp jeera/cumin seeds
1/4 tsp hing / asafoetida
2-3 green chillies slit or chopped
1'' piece ginger finely crushed
1/2 tsp haldi /turmeric powder
a few curry leaves
salt to taste


METHOD

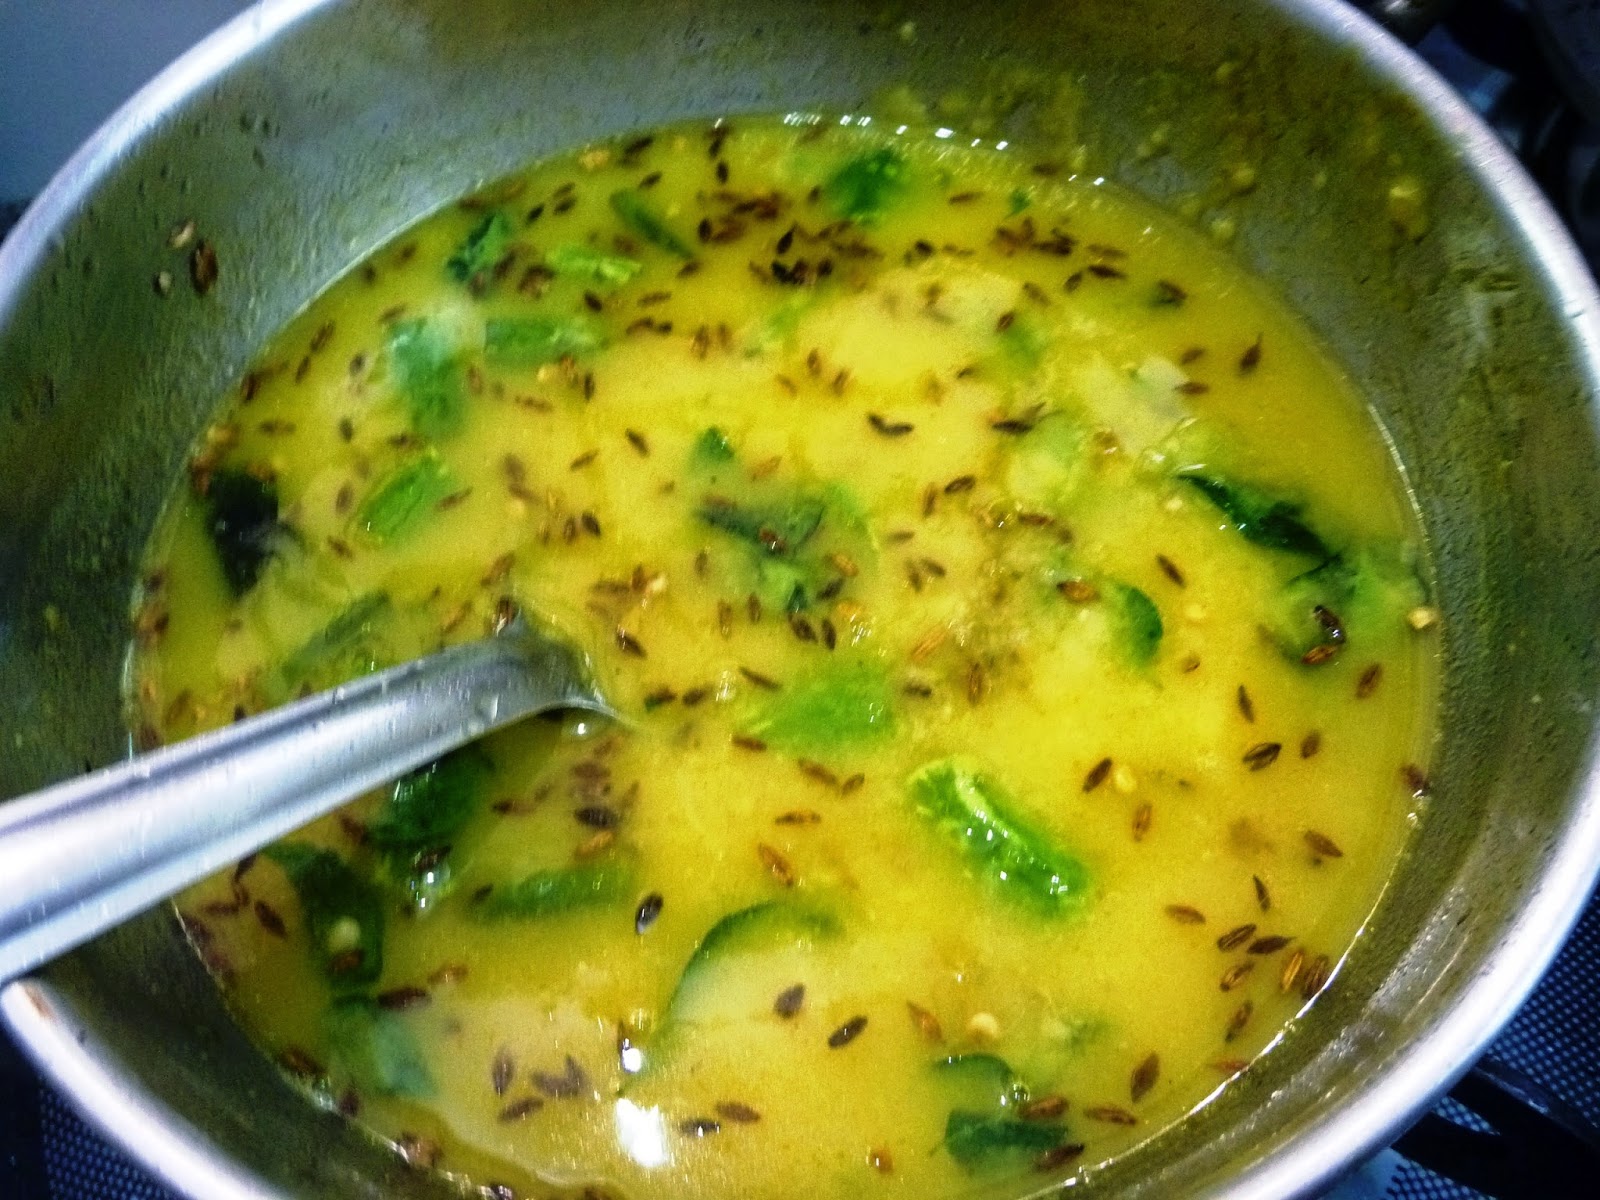
IN GOES THE JEERA AND HING

FOLLOWED BY GREEN CHIILIES AND CURRY LEAVES

THEN COMES THE GINGER AND HALDI

AND FINALLY THE MASHED DAAL


  • Pressure cook the dal till soft.
  • Mash it well and keep aside.
  • Heat ghee in a pan.
  • Add jeera and hing.
  • Then add the green chillies and curry leaves.
  • Fry for some time till the chillies change colour .
  • Add crushed ginger and haldi and mix well. 
  • Add the daal, water and salt and boil well .
  • Garnish with coriander leaves
  • Serve hot with steamed rice with a generous amount of ghee.
  •  A few drops of lemon juice and pickle will enhance the taste but it is left to your palate.


 POINTS TO KEEP IN MIND

Do not replace the ghee with cooking oil.The flavour to the dish comes from the ingredients fried in ghee .
You may also notice that I have used more of turmeric powder here and not just a pinch.
Do not make the daal watery.  It should be like a thick gravy.


WATER MELON DOSA

Summer time is here and so are the watermelons!!!
What do we do after eating the red fleshy part? Out it goes into the garbage bin!!
But wait.... before throwing it away why not make some tasty dosas from the remaining part ?  :)

 
DISCARD ONLY THE SKIN AND USE THE REMAINING PORTION


READY TO BE MIXED WITH RICE

BATTER READY FOR DOSA PREPARATION

GETTING READY!

READY FOR YOUR TASTE BUDS !

INGREDIENTS

1 cup rice soaked for 3-4 hrs
1 1/2 -2 cups  white portion of the water melon
1-2 green chillies
a few sprigs of corriander leaves.
1/2 tsp jeera / cumin seeds
salt to taste
oil for dribbling

METHOD
  • Grind all the ingredients into a smooth paste.
  • Add salt and  jeera and mix well.
  • Heat a flat tawa/girdle and spread the batter into a round shape.
  • Dribble a few drops of oil.
  • Cover with a lid for a few secs.
  • Let it cook on one side. Then flip and roast on the other side.
  • Relish with a chutney of your choice.
  • Isn't it simple? :)
Note: If the dosa is not covered with a lid after spreading on the tawa, the batter dries up .The dosa will have uneven dry patches which feel very dry and hard.
These dosas will be soft and not crisp .

About Me

My photo
I began this blog to compile my recipes in one place. I started writing this keeping in mind beginners and busy people and hence have tried to keep the steps and procedure as simple as possible. The recipes that you find here are vegetarian, which I cook on a day to day basis and are quite simple. I dedicate this space to all the people whom I came across,who inspired me to cook, who shared their recipes and tips and helped me improve my culinary skills.